1. 为什么要迁移
当初项目创建之际正处于 vite 早期,不敢冒险尝试,现在 vite 版本更新到了 5.x ,而且有着比 vue-cli-service(基于 webpack)好得多的性能,构建速度更快,热更新支持更完善,所以有什么理由不迁移呢。
2. 迁移
2.1 移除 vue-cli-service 相关依赖
现有 package.json 内容如下:
{
  "name": "sfarm-front-vue",
  "version": "1.0.0",
  "private": true,
  "scripts": {
    "serve": "vue-cli-service --mode development serve",
    "build": "vue-cli-service build",
    "build:test": "vue-cli-service --mode development build",
    "lint": "vue-cli-service lint",
    "start": "yarn serve",
    "start:local": "vue-cli-service --mode local serve",
    "start:prod": "vue-cli-service --mode production serve",
    "prepare": "husky install"
  },
  "dependencies": {
    "@element-plus/icons-vue": "^1.1.4",
    "axios": "^0.24.0",
    "core-js": "^3.6.5",
    "echarts": "^5.3.1",
    "element-plus": "2.2.0",
    "exceljs": "^4.3.0",
    "file-saver": "^2.0.5",
    "lodash": "^4.17.21",
    "luckyexcel": "^1.0.1",
    "moment": "^2.29.1",
    "nprogress": "^0.2.0",
    "ol": "^7.4.0",
    "ol-contextmenu": "5.2.1",
    "ol-ext": "^4.0.10",
    "path-browserify": "^1.0.1",
    "register-service-worker": "^1.7.1",
    "sockjs-client": "^1.5.2",
    "vue": "^3.0.0",
    "vue-router": "^4.0.0-0",
    "vue3-excel-editor": "^1.0.8",
    "vue3-openlayers": "^1.2.0",
    "vuex": "^4.0.0-0",
    "webstomp-client": "^1.2.6",
    "xlsx": "^0.18.5"
  },
  "devDependencies": {
    "@vue/cli-plugin-babel": "^5.0.8",
    "@vue/cli-plugin-eslint": "^5.0.8",
    "@vue/cli-plugin-pwa": "^5.0.8",
    "@vue/cli-plugin-router": "~4.5.0",
    "@vue/cli-plugin-vuex": "~4.5.0",
    "@vue/cli-service": "^5.0.8",
    "@vue/compiler-sfc": "^3.0.0",
    "babel-eslint": "^10.1.0",
    "babel-plugin-component": "^1.1.1",
    "eslint": "^7.28.0",
    "eslint-config-prettier": "^8.3.0",
    "eslint-define-config": "^1.2.0",
    "eslint-plugin-prettier": "^4.0.0",
    "eslint-plugin-vue": "^7.0.0",
    "husky": "^7.0.4",
    "lint-staged": "^12.1.2",
    "prettier": "^2.5.1",
    "sass": "^1.43.4",
    "sass-loader": "^10",
    "style-loader": "^3.3.3"
  },
  "browserslist": ["> 1%", "last 2 versions", "not dead"],
  "lint-staged": {
    "*.{js,vue}": ["yarn lint"]
  },
  "engines": {
    "npm": ">=8.0.0 <9.0.0",
    "node": ">=16.0.0 <17.0.0"
  }
}
需要移除的开发依赖:
// vue-cli 插件
"@vue/cli-plugin-babel": "^5.0.8",
"@vue/cli-plugin-eslint": "^5.0.8",
"@vue/cli-plugin-pwa": "^5.0.8",
"@vue/cli-plugin-router": "~4.5.0",
"@vue/cli-plugin-vuex": "~4.5.0",
"@vue/cli-service": "^5.0.8",

// sfc
"@vue/compiler-sfc": "^3.0.0",

// babel 相关
"babel-eslint": "^10.1.0",
"babel-plugin-component": "^1.1.1",

// 预处理器loader
"sass-loader": "^10",
"style-loader": "^3.3.3"
移除 node 版本限制,或者添加 node 版本大于 18.0.0 的限制(因为 vite v5 最小依赖 node v18)
// 移除
  "engines": {
    "npm": ">=8.0.0 <9.0.0",
    "node": ">=16.0.0 <17.0.0"
  }
2.2 添加 vite 和 vite-vue 插件
yarn add -D vite @vitejs/plugin-vue
2.3 修改构建命令
将 package.json 中的构建命令修改为 vite 的构建命令
// 所有vue-cli-service执行的命令修改为vite
"serve": "vue-cli-service --mode development serve",
"build": "vue-cli-service build",
"build:test": "vue-cli-service --mode development build",
"lint": "vue-cli-service lint",
"start": "yarn serve",
"start:local": "vue-cli-service --mode local serve",
"start:prod": "vue-cli-service --mode production serve",
修改后
"serve": "vite --mode development serve --open",
"build": "vite build",
"build:test": "vite --mode development build",
"lint": "eslint --ext .js,.vue --ignore-path .gitignore --fix src",
"start": "yarn serve",
"start:local": "vite --mode local serve",
"start:prod": "vite --mode production serve",
得益于 vite 和 vue-cli-service 毕竟同样出自于 Vue 团队,所以命令行参数基本不用怎么变换。 值得注意的是lint, vue-cli-service 集成了 eslint,但是 vite 并没有原生集成,所以需要修改为 eslint 去执行 lint 命令
2.4 入口 Html
现在我们尝试一下启动开发环境:
yarn serve

看到项目已经可以正常启动了,只是现在访问页面 404
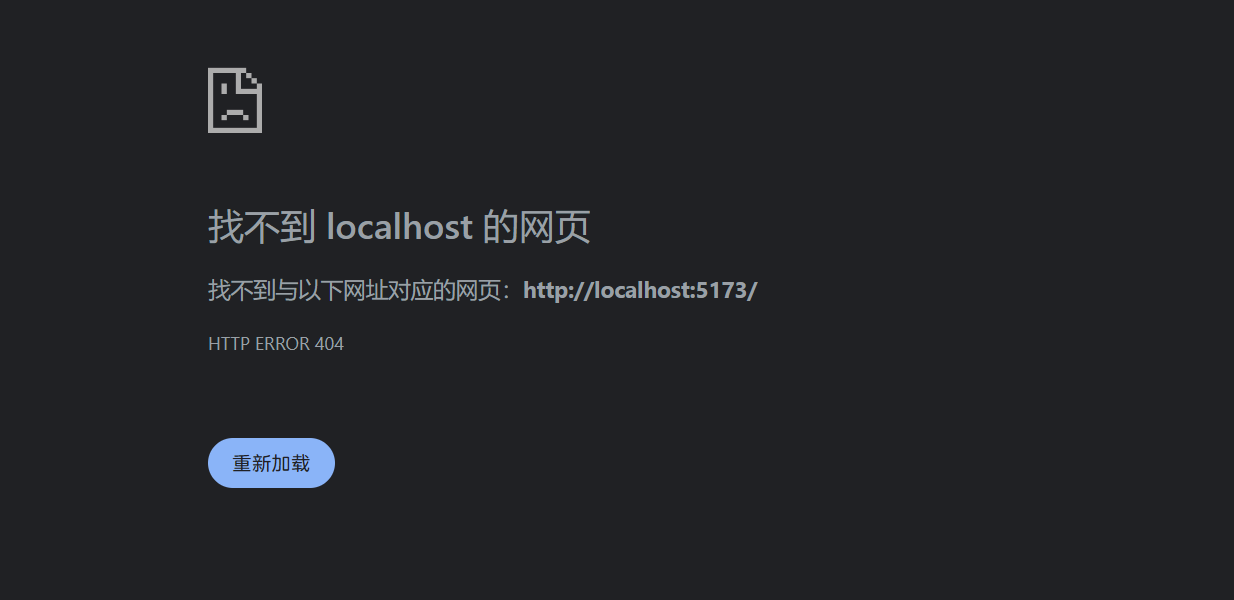
这是因为 vite 把入口文件 index.html 的位置改到根目录了,下面是官网的说法:
你可能已经注意到,在一个 Vite 项目中,index.html 在项目最外层而不是在 public 文件夹内。这是有意而为之的:在开发期间 Vite 是一个服务器,而 index.html 是该 Vite 项目的入口文件。
既然如此我们从 public 文件夹下移动 index.html 到根目录
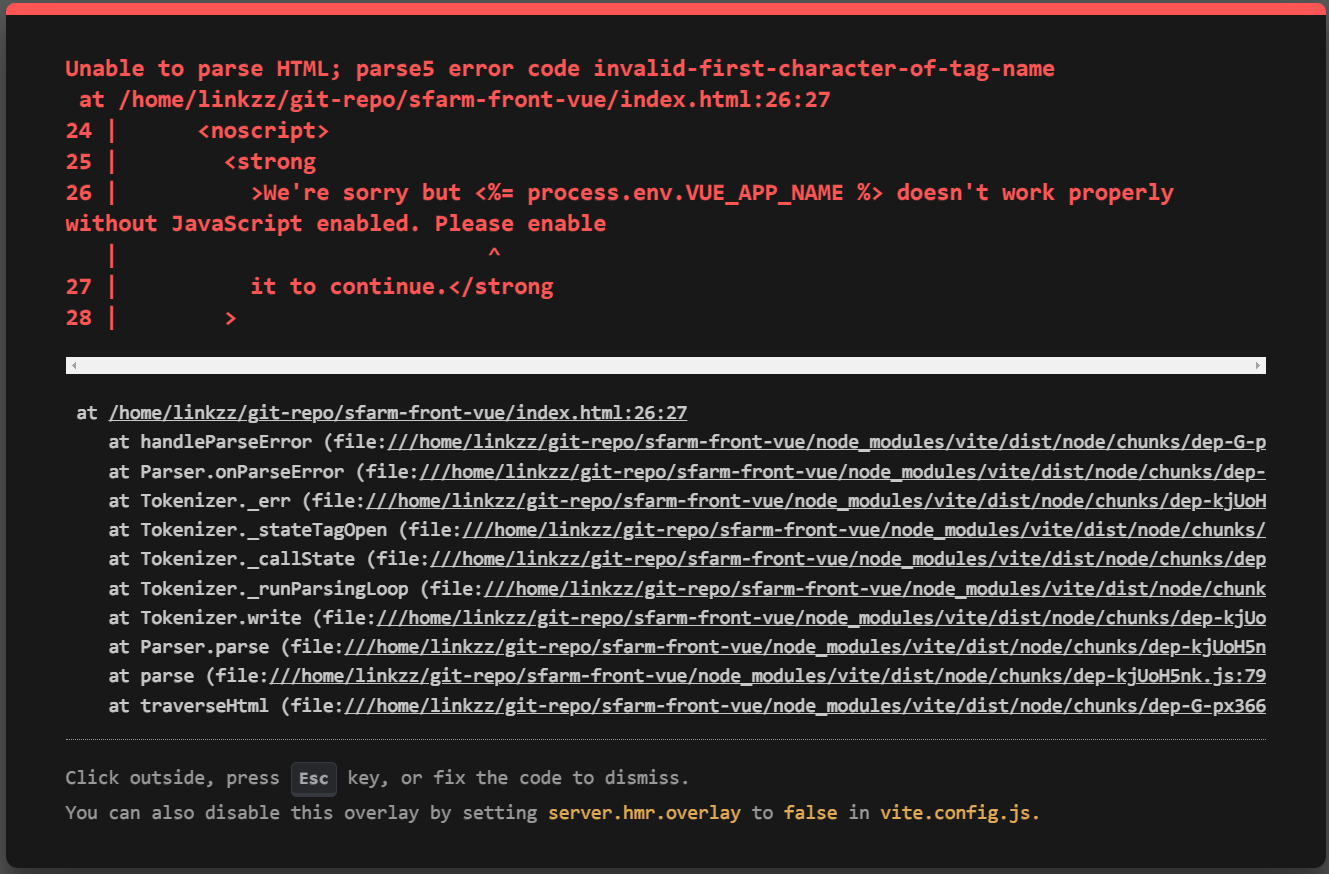
OK,现在是正常的 vite 报错信息了
2.5 .env 环境变量文件
vite 不再使用 node 的环境变量加载,而是将环境变量在一个特殊的对象上暴露,这个对象即是 import.meta.env, 并且 .env 文件只有 VITE_ 前缀的变量才会被 vite 处理,接下来我们全局搜一下这些变量然后替换掉:
- import.meta.env
全局搜索 process.env.VUE_APP
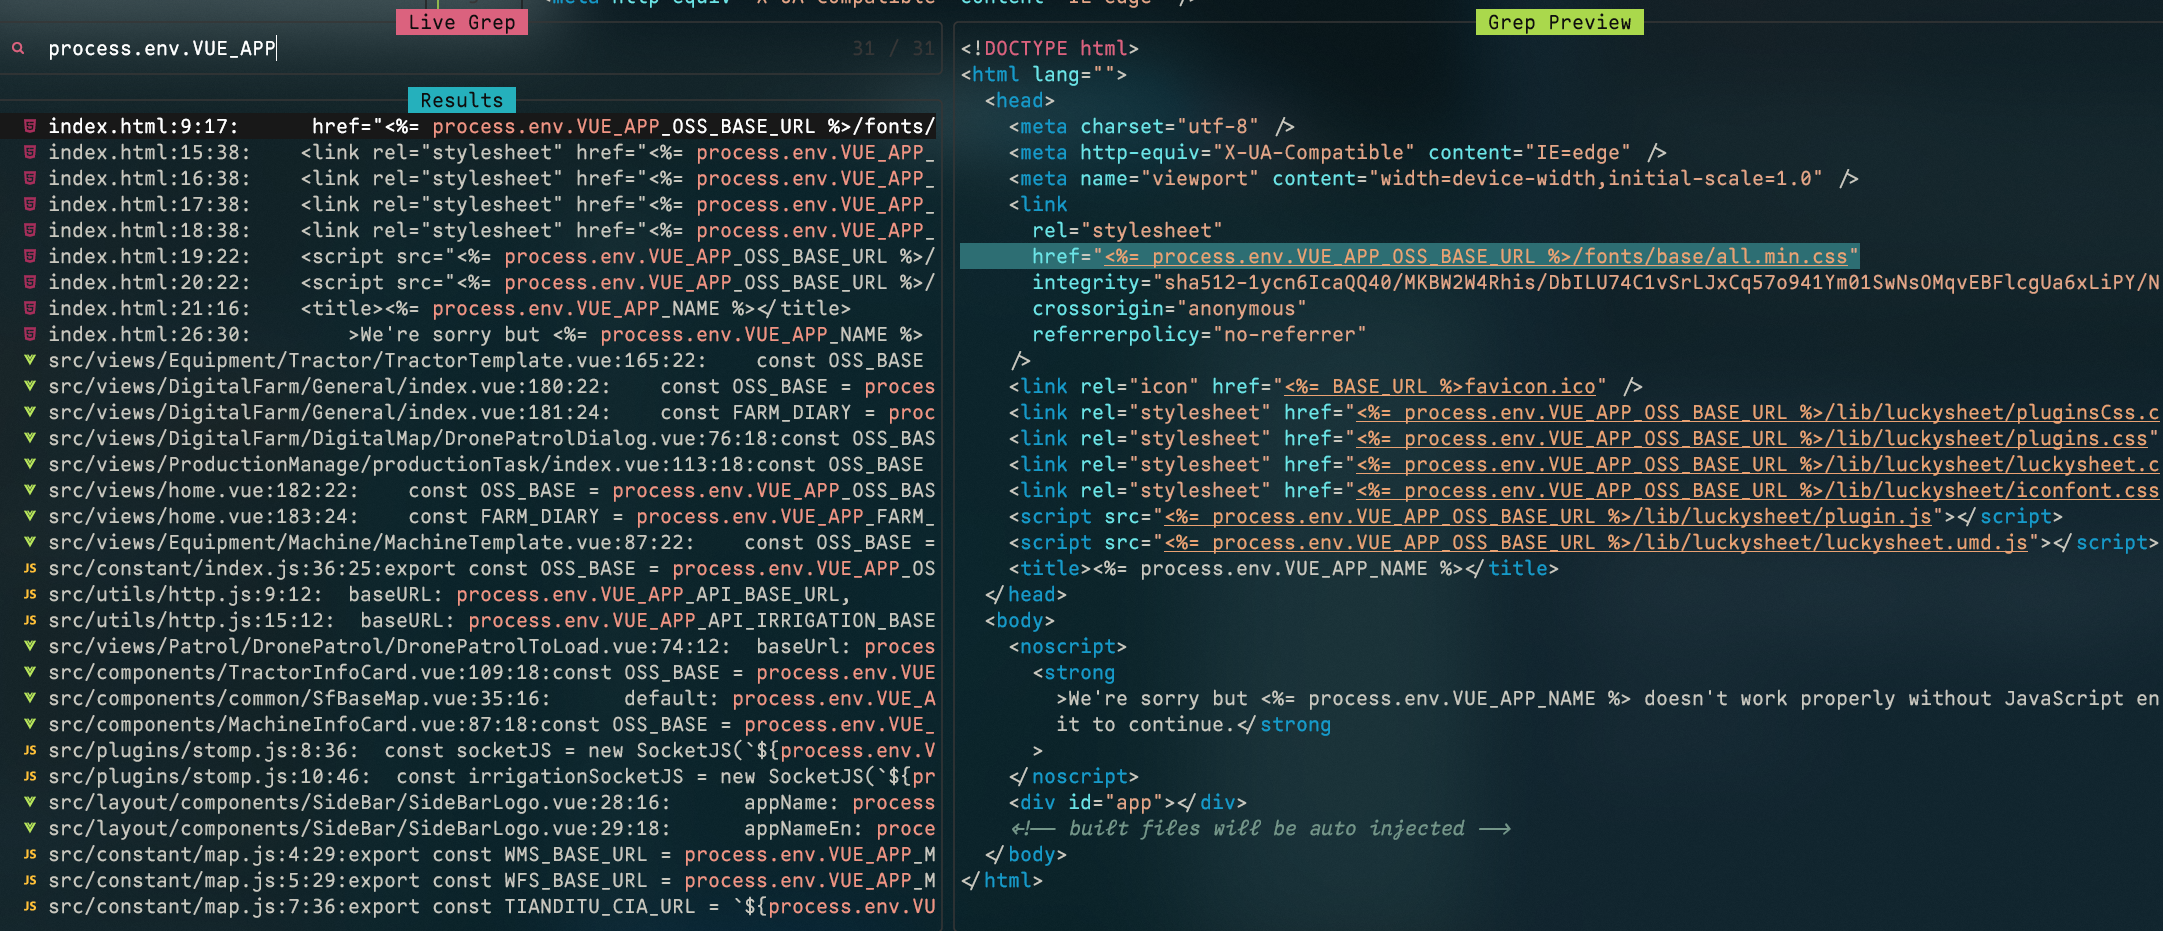
将之替换为 import.meta.env.VITE
我的编辑器 neovim 中的替换方法:
:args src/**/*.{js,vue}
:argdo %s/process\.env\.VUE_APP/import.meta.env.VITE/gce | update
- VUE_APP
替换 VUE_APP_ 前缀为 VITE_
:args .env.*
:argdo %s/VUE_APP/VITE/gce | update
替换前确认一下避免替换错误
- html 文件变量引用
Vite 在 html 文件中可以直接通过 %ENV_NAME% 引用环境变量, html文件中引用的环境变量替换:
:%s/<%=\s*process.env.VUE_APP\(\w*\)\s*%>/%VITE\1%/gc
2.6 添加入口 js 文件

以上步骤之后出现了空白的页面,html 的报错已经消失,但是并未加载和下载任何 vue 的依赖,这是因为 vite 希望在 index.html 中指定加载入口 js 文件。
在 index.html 中指定入口 js 文件:
<script type="module" src="src/main.js"></script>
2.7 Vite 配置
接下来 main.js 开始加载,但是报错找不到引入的资源
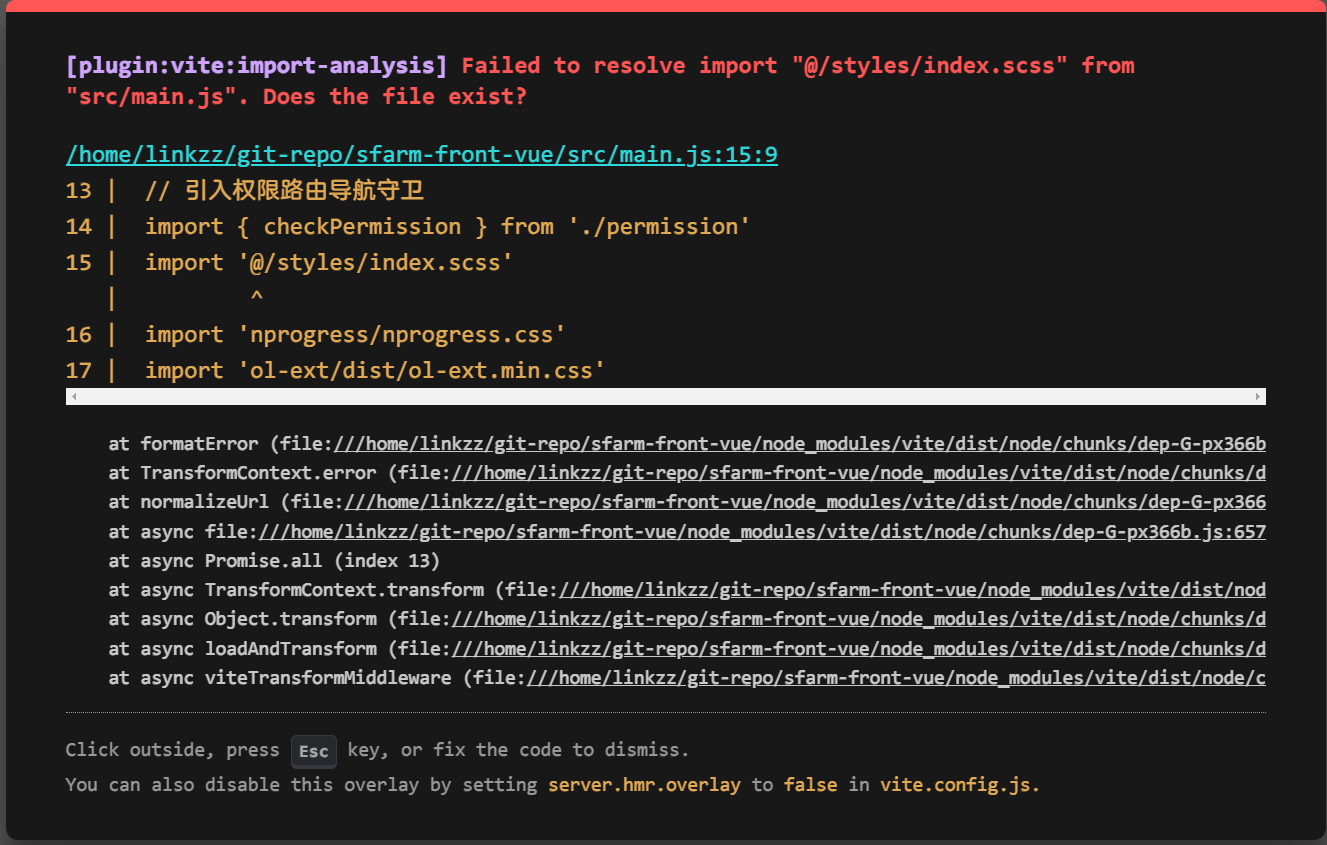
这个我们很熟悉了,没有配置别名
添加 vite.config.js 配置文件,配置内容:
import vue from "@vitejs/plugin-vue";
import { defineConfig } from "vite";
import path from "path";

export default defineConfig({
  plugins: [vue()],
  server: {
    port: 3000,
  },
  resolve: {
    alias: {
      "@": path.resolve(__dirname, "./src"),
    },
  },
});
2.8 完善文件名后缀导入
添加了配置之后报错导入布局文件出错
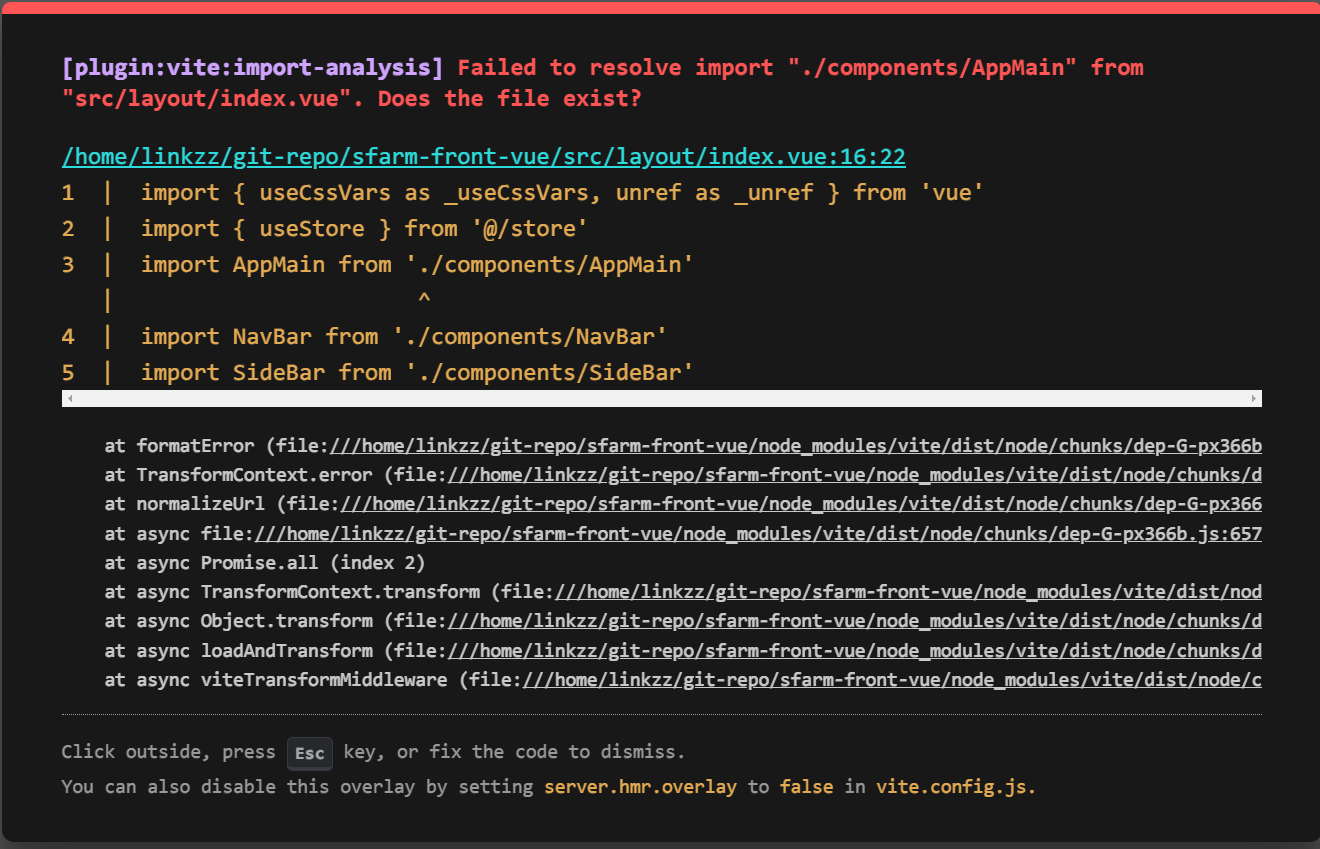
这是因为 vite 导入文件的时候必须指定完整的文件名,包含后缀,而 vue-cli-service 是可以省略文件名后缀的,下面同样正则匹配替换修复一下:
:args src/**/*.{js|vue}
:argdo %s/from\s*'\(\.\.*\/\(\.\.\/\)*\(\w*\/\)*\w*\)'/from '\1.vue'/gec | update
替换过程中确认一下是否是文件夹名省略了 index.vue,这种情况下需要补全 index.vue 而不能省略。
2.9 Sass 全局变量
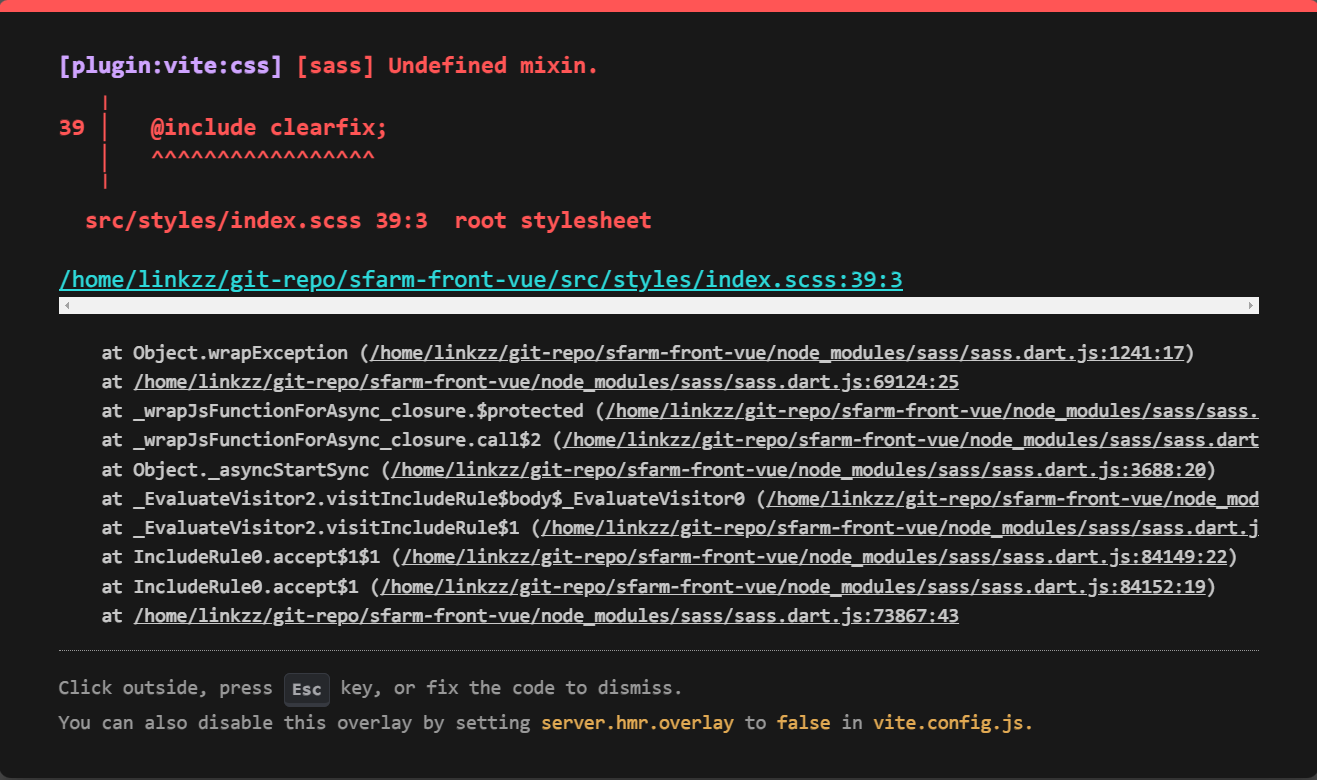
接下来是处理 sass 的全局变量错误,这个需要配置 sass 的全局变量引入,直接将 vue-cli-service 的配置迁移到 vite.config.js 中即可。
import vue from "@vitejs/plugin-vue";
import { defineConfig } from "vite";
import path from "path";

export default defineConfig({
  plugins: [vue()],
  server: {
    port: 3000,
  },
  resolve: {
    alias: {
      "@": path.resolve(__dirname, "./src"),
    },
  },
  css: {
    preprocessorOptions: {
      scss: {
        // 导入全局变量, 注意这里不能用@import, 原因: https://github.com/element-plus/element-plus/issues/2132
        additionalData: `@use "./src/styles/variables.scss" as *;
                         @use "./src/styles/mixins.scss" as *;`,
      },
    },
  },
});
2.10 修复 sockjs-client 的 global 错误
接下来是一个控制台报错:
Uncaught ReferenceError: global is not defined
    at node_modules/sockjs-client/lib/utils/browser-crypto.js (sockjs-client.js?v=e0356fef:9:5)
    at __require2 (chunk-3EJPJMEH.js?v=e0356fef:15:50)
    at node_modules/sockjs-client/lib/utils/random.js (sockjs-client.js?v=e0356fef:31:18)
    at __require2 (chunk-3EJPJMEH.js?v=e0356fef:15:50)
    at node_modules/sockjs-client/lib/utils/event.js (sockjs-client.js?v=e0356fef:59:18)
    at __require2 (chunk-3EJPJMEH.js?v=e0356fef:15:50)
    at node_modules/sockjs-client/lib/transport/websocket.js (sockjs-client.js?v=e0356fef:1086:17)
    at __require2 (chunk-3EJPJMEH.js?v=e0356fef:15:50)
    at node_modules/sockjs-client/lib/transport-list.js (sockjs-client.js?v=e0356fef:3309:7)
    at __require2 (chunk-3EJPJMEH.js?v=e0356fef:15:50)
这是一个 vite 引用的错误,修改引用代码:
// 移除
// import SocketJS from 'sockjs-client'
// 修改为如下引用
import SocketJS from "sockjs-client/dist/sockjs.js";
2.11 页面 node 模块调用
我在 layout 中的左侧导航栏使用了 path 模块获取点击链接地址,在 vue-cli-service 中是可以工作的,但是 Vite 中报错 Uncaught (in promise) Error: Module "path" has been externalized for browser compatibility. Cannot access "path.resolve" in client code. 原因显而易见不能再客户端代码中使用 path 模块, 对此官方是这么说的:
我们推荐你不要在浏览器中使用 Node.js 模块以减小包体积,尽管你可以为其手动添加 polyfill。如果该模块是被某个第三方库(这里意为某个在浏览器中使用的库)导入的,则建议向对应库提交一个 issue。
好在 path 模块可以用 path-browserify 替代,安装该模块即可。
yarn add path-browserify
2.12 删除一些不必要的配置文件
接着就是删除掉一些不再需要的配置文件,如 vue.config.js、babel.config.js 等。
3. 结语
至此就完成了 vue-cli-service 至 vite 的迁移,继续享受 vite 带来的飞一般的构建速度吧!